
End of tenancy cleaning checklist: what to do before checkout
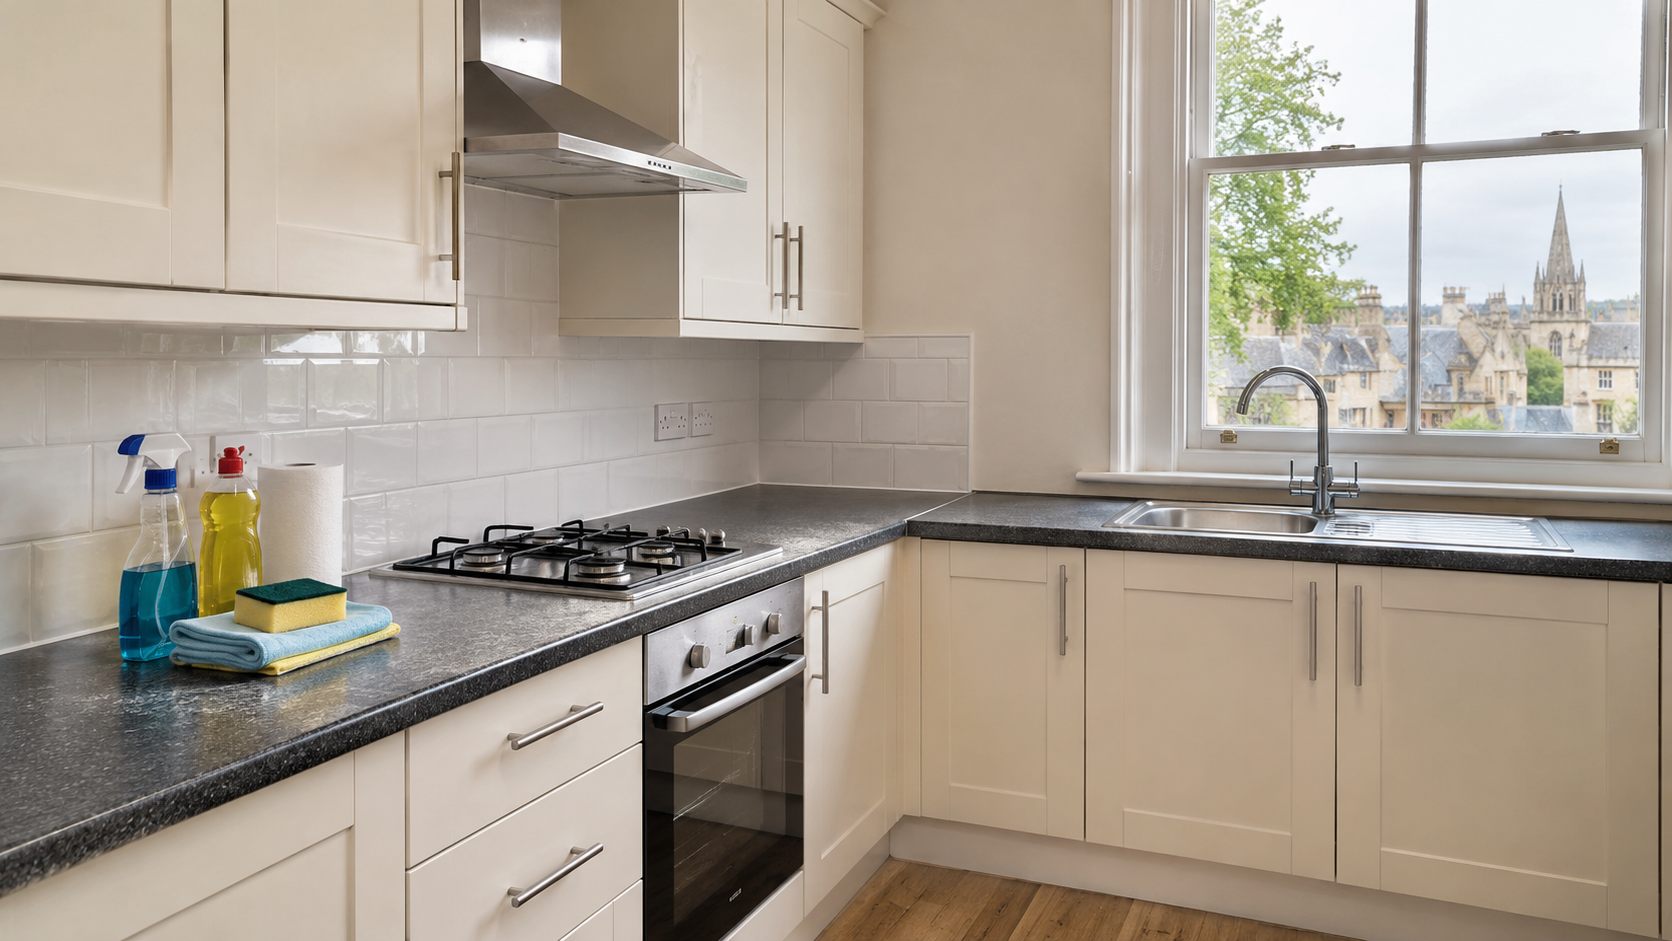
An end of tenancy clean is easiest to manage when you work from the inventory and check-out arrangements, then clean the empty property from top to bottom. Start with the kitchen and bathrooms, because grease, limescale and hidden cupboard debris take longer than a quick wipe suggests. Leave floors until the rooms are clear, and set aside time for a final walk-through in good light. This checklist helps you plan the work without assuming that every tenancy or property has the same requirements.
Before you pick up a cloth
Read the check-in inventory, any cleaning instructions you were given and the check-out appointment details. An inventory can help you remember less obvious areas, such as the inside of a fitted wardrobe or the condition of an oven shelf. Take note of anything that was already marked at check-in. If you are unsure whether a specialist item is included in your cleaning arrangement, ask before the final day rather than discovering a gap at handover.
Choose a date when furniture and boxes will be out of the way. Cleaning around packed belongings is slower and makes it easy to miss skirting boards, the floor behind a wardrobe or the space under a bed. If removal and cleaning must happen on the same day, allow a clear window after the van has left. Keep the keys until you have finished your checks, but make sure your plan fits the agreed handover time.
Put together a small kit: microfibre cloths, suitable surface cleaner, a non-scratch sponge, a vacuum with attachments, a mop and bucket, bin bags and gloves. Read product labels and the care instructions for delicate surfaces. Never mix cleaning chemicals. Test an unfamiliar product in an inconspicuous place and use the gentlest effective method first. For painted walls, natural stone, treated wood and special coatings, aggressive scrubbing can cause more trouble than the original mark.
Work in a sensible order
Dust high surfaces first, then tackle fittings and worktops, and finish with floors. That order stops fresh dust landing on an area you have already cleaned. Open cupboards and drawers before you vacuum so crumbs can be collected in one pass. Work one room at a time, but leave a short final circuit for doors, switches and other points you touch while moving around.
An empty property looks cleaner than a furnished one, yet the small details become more visible. Stand at the doorway of each room and scan the ceiling line, corners, window ledges, skirting and floor edges. Use daylight where possible. A phone torch can help you inspect the back of cupboards, extractor covers and the space behind a freestanding appliance, provided it can be moved safely.
Kitchen: allow the most time
Start by emptying every cupboard and drawer. Remove loose crumbs, wipe the shelves and handles with a suitable cleaner, and dry the surfaces before shutting the doors. Check the tops of wall cupboards if they are safely reachable. Clean the worktop, splashback and sink, including the area around the tap base and plughole. Food residue on a tile edge or behind a small appliance is easy to overlook when the main worktop is clear.
The hob and oven often need their own session. Follow the manufacturer’s guidance for the hob surface, pan supports, oven racks and door glass. Do not assume a strong degreaser is safe for every finish. If the oven has heavy baked-on residue, allow enough dwell time for the chosen product and rinse it as directed. A professional oven clean may be worth discussing if the condition or time available makes a careful DIY clean impractical.
Empty, defrost and clean the fridge and freezer if they are part of the property. Switch them off only in line with the handover instructions, and leave doors ajar if appropriate so trapped moisture does not create odours. Wipe shelves, seals and handles, then dry them. Check the microwave, extractor hood and any other supplied appliance against the inventory. Take care around electrical parts and do not spray liquid directly into vents or controls.
Bathrooms: clean, rinse and dry
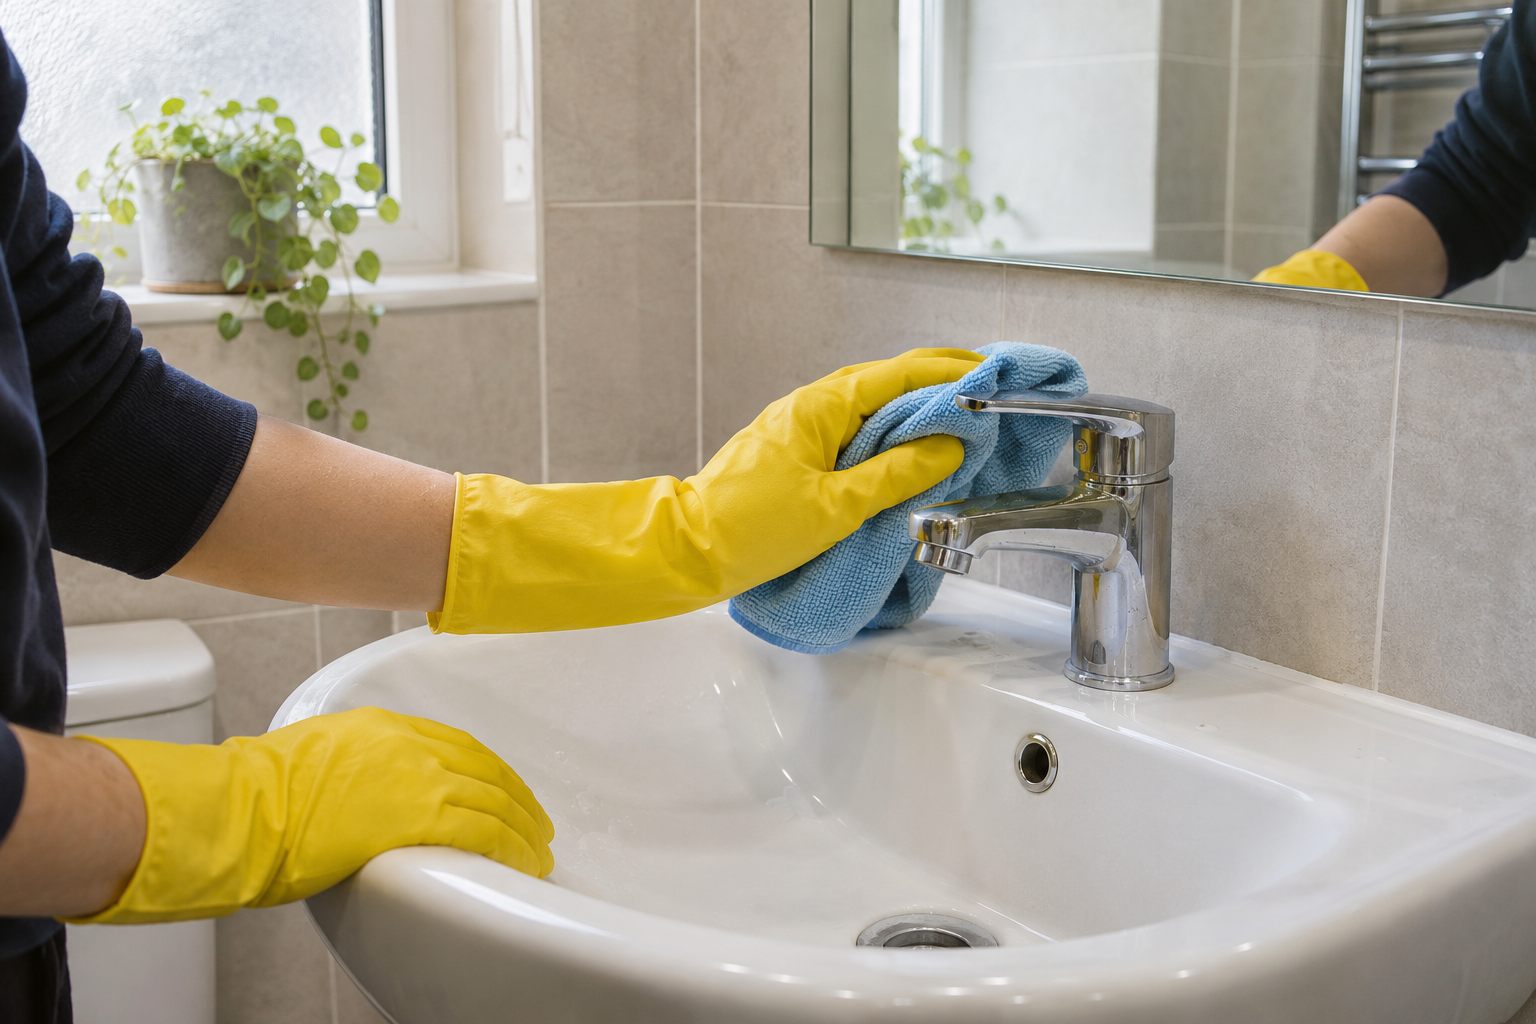
Clear toiletries and loose items before you start. Clean the basin, bath or shower, taps, toilet and visible pipework with products suitable for the materials. Give limescale remover the contact time stated on its label, then rinse thoroughly. Pay attention to the tap base, shower screen edges, plugholes and the underside of a toilet seat. A clean mirror and dry chrome fittings make the final inspection easier, but they do not replace work on the less visible areas.
Check grout and silicone without attacking them with a harsh brush. Discolouration may reflect staining, worn sealant or a moisture problem rather than surface dirt. Cleaning may improve the appearance, but it will not repair failed sealant or address a leak. Note a defect separately so it is not mistaken for a missed cleaning task. After cleaning, ventilate the room and dry standing water from ledges and shower tracks.
Living rooms and bedrooms: look past the open floor
Dust shelves, ledges, accessible light fittings and skirting boards. Wipe switches, sockets’ surrounding plates, door handles and internal doors without soaking electrical fittings. Check wardrobe rails, drawers and the top of built-in storage. Vacuum upholstered furniture only if it belongs to the property and the care label allows it; stains or delicate fabric may call for upholstery cleaning rather than improvised spot treatment.
Walls should be treated carefully. A light mark may come away with a barely damp cloth, while persistent scuffs can remove paint if scrubbed. Test first and stop if colour transfers. Where marks are damage or ordinary wear rather than dirt, record them honestly. Clean windows from the inside where they are safely accessible, including sills, handles and tracks. Do not lean out or use unsafe access methods to reach exterior glass.
Floors and carpets: finish after everything else
Vacuum the edges of each room with the crevice tool, then the open floor. Move light, safe-to-move items to reach underneath; do not drag heavy furniture across a finished surface. Mop hard floors using the method suited to their finish, and avoid leaving excess water on timber or laminate. Let the floor dry before a final check so footprints do not undo the work.
If the inventory calls attention to carpet condition, inspect it in good light. Blot a fresh spill rather than rubbing it into the pile, and follow the carpet maker’s care guidance. Home spot products can set a mark or alter colour, especially on natural fibres. If there are extensive stains or a larger area to address, discuss carpet cleaning early enough to allow drying before checkout.
The overlooked areas checklist
- Inside and on top of cupboards, shelves and fitted storage that can be reached safely.
- Door edges, handles, light switches, skirting boards and radiator fronts.
- Window sills, internal frames and accessible tracks.
- Extractor covers and visible vents, following the maker’s instructions.
- Behind and underneath movable appliances, only where access is safe and permitted.
- Bins, bin lids and the area where bins stood.
- Balcony or outside storage, if these form part of the property and your agreement covers them.
- Any supplied furniture, curtains or blinds noted on the inventory.
Use this list as a prompt, not as a substitute for the property’s own inventory. A furnished flat, a shared house and an unfurnished terrace will have different items to check. If a room contains an item you do not know how to clean safely, seek the correct care instructions rather than guessing.
Final checks before handing back the keys
Take a slow walk through the empty property after the floors are dry. Look from each doorway and then close up on the areas people handle: taps, switches, cupboard fronts and door edges. Open cupboards and drawers one last time to make sure they are empty, clean and dry. Check that cleaning products, cloths and rubbish have been removed. Do not leave wet cloths in a closed cupboard or bin.
Photographs taken in good light can help you remember the condition at handover. Capture whole rooms and relevant details, rather than only close-ups that lose context. Keep the images with your inventory and any messages about pre-existing defects. This is a practical record of the work you completed; it does not replace a formal check-out report.
If you are booking help, send the cleaner the property size, room count, inventory priorities, access details and check-out deadline. Ask which tasks are covered, whether specialist oven, carpet or upholstery work is included, and how long the property needs to dry afterwards. The end of tenancy cleaning service in Oxford is the relevant place to discuss a property-specific scope. A clear brief makes it easier to plan the visit and check the finished work.
A realistic final-day sequence
The evening before, remove food and personal belongings, defrost any supplied freezer if instructed, and make sure cleaning supplies are ready. On the cleaning day, begin with the kitchen and bathrooms, then move through storage, surfaces and fixtures. Finish with carpets and hard floors once the rooms are empty. Leave a drying and inspection window before the keys are due. If other trades or removals are still taking place, tell everyone when cleaning needs a clear space so the final pass is not undone.
The goal is a property that is clean, empty and ready for the agreed handover, with any maintenance issues identified separately. Work from the real condition of the rooms and the documents you have, and avoid spending the whole day polishing one visible surface while an oven, cupboard or bathroom fitting remains unchecked.
Need help with the handover clean?
Tell us about the property, your check-out date and the tasks that matter most. We can discuss a cleaning scope and a property-specific quote.
More practical guides
Browse all cleaning guides for more practical advice.